Journal

Baking Journal

Thoughts after a bake — what worked, what didn’t, and what’s next.

This page is our public bake log. To keep your own sourdough note taking with notes, ratings, and photos, open My Loaf in the app. New here? See how the baking journal works or plan your next bake.

Whole wheat dough in a loaf pan before fridge proof — three soft mounds under plastic wrap
Sliced whole wheat sandwich loaf with golden crust and open custardy crumb on a wooden cutting board

Three Hours Over: Whole Wheat at 95%

Whole wheat sandwich loaf at 95% hydration — my highest yet for a pan loaf. Life got in the way and fermentation ran about three hours past plan.

At the bench the dough was airy and sticky. I skipped the pre-shape, split the dough into three pieces, and laid them side-by-side in the pan before a fridge proof.

Despite being well over on the clock, the loaf came out better than I expected — open custardy crumb, thin golden crust, warm tan from the whole wheat. A few larger pockets near the top read as structure starting to slip before bake.

I don’t think my shaping for pan loaf is good enough. I did some research. Check this shaping guide for high hydration loaf.

What I’m taking forward: High-hydration whole wheat needs a tighter proof window — three hours over is luck, not a plan. Watch dome + jiggle above ~90% hydration.

Sliced sandwich loaf with golden crust and open crumb on a wooden cutting board

Late Night, Low Temp: Back to Sandwich Bread

My first sandwich loaf in about two months — I’d been on artisan boules since Japanese milk bread in May. I started late and put the starter in the oven with just the light on (~95°F) to speed levain; it was ready in about six hours.

By mix time I was racing bedtime. The kitchen had cooled to ~70°F — not the 75°F my app assumes. I gave it the planner’s 1h40 final rise, then into the fridge for a cold proof. Overnight it was still flat.

Next morning I pulled it to room temp and let it run a long final proof — about three hours. It rose and domed. I baked on dome + jiggle, not the clock.

The loaf came out nice overall. A few big bubbles and some tunneling still read as under-proof from that short, cool first rise — pockets that never fully caught up even after the long room-temp extension. See the Artisan vs Sandwich proofing guide for pan-specific reads.

What I’m taking forward: Budget final proof at real room temp. A cold proof won’t fix a short first rise — plan room-temp extension when the dough is still flat. On sandwich loaves, dome + jiggle before bake. When I start late, warm the proofing spot or start earlier next time.

Failed watery dough with undissolved stiff starter lumps visible in the mixing bowl

Stiff Starter: When Mixing Isn't Dissolving

My first bake with stiff starter — and I used whole grain flour on top of it. I'd known stiff starter was a technique for years, but I'd never tried it. I had no idea it needed to be dissolved in the water first. I dropped the firm ball straight into flour, salt, and water and mixed until the bowl looked uniform. No pre-soak; I assumed the stand mixer would distribute everything.

The dough was wrong immediately — watery, slack, impossible to shape. Not “a bit wet.” Unworkable. I waited two hours hoping bulk would fix it. Nothing changed. Still watery. Still dead, like there was no starter at all.

The failure wasn't hidden. It was right there in the bowl the whole time — though with whole grain, it was even easier to miss. Whole wheat bran and stiff starter lumps are both tan and speckled, so the mix looked even when it wasn't. I wasn't waiting on fermentation — I was waiting on a mix that never started.

I put together a Stiff Starter Dissolve Guide from what I learned — dissolve in all recipe water before flour, every time, even with a stand mixer.

Sourdough loaf with a golden crust and pronounced ear, resting on a wooden cutting board
Cross-section of sourdough loaf showing large irregular voids and uneven crumb from weak dough structure

Not Fool's Crumb: When Dough Strength Was the Real Problem

At first glance this looked like another fool's crumb — big caverns at the top, uneven holes, a wide flat loaf. But the crumb around those voids was fully fermented. The problem wasn't time. It was dough strength.

During a 4.5-hour bulk I only did one stretch and fold. I forgot the rest. The yeast kept working, but the gluten never caught up. Gas pooled into a few huge pockets instead of spreading through a tight web.

Same visuals as fool's crumb — tunneling up top, denser bands below — but a different fix. Fool's crumb means you pulled too early. Weak dough means you didn't build enough structure to hold the gas you already had.

Decent crust and ear, but the loaf spread more than it rose — another strength tell.

What I'm taking forward: Set a timer for stretch-and-folds at the start of bulk — 3–4 sets over a 4.5h bulk, 30–45 minutes apart. When the crumb looks wrong, check strength before blaming proof time.

Mini sourdough loaf with a pronounced ear and golden crust, held in two hands
Cross-section of mini sourdough loaf showing open, irregular crumb and creamy interior

Feeling the Dough: When Hydration Lives in Your Hands

Today I crossed a small but real threshold in my baking — I started feeling the dough during mixing and adjusting water on instinct, instead of trusting the numbers on the scale alone.

I was working on a mini loaf. On paper, the hydration looked reasonable. But the moment I got my hands in the bowl, something felt off. The dough was too slushy — the kind of loose, wet texture I'd expect closer to 80% hydration, even though my formula said something lower.

That's the thing nobody warns you about when you switch flour brands: absorption rate changes everything. The same baker's percentage can feel completely different depending on which bag you opened. One brand drinks water eagerly; another leaves you swimming in a sticky puddle that the recipe never promised.

So I didn't panic. I added more flour, a little at a time, until the dough finally felt right under my fingers — cohesive, with some resistance, no longer that soupy 80% sensation. It was an intuitive correction. The scale wasn't wrong, exactly; my flour just wasn't reading from the same script.

The bake rewarded that trust. The crust came out deep golden with a beautiful ear along the score — that raised ridge where the dough opened in the oven. Inside, the crumb had exactly what I was hoping for: open, irregular holes and a creamy interior. Good oven spring for a loaf this size. For a mini loaf, it was perfect.

What I'm taking forward: Record the flour brand next time, along with starting hydration, so I can track how different bags behave over bakes. And trust the dough — if it reads slushy at the mix, a flour correction is valid even when the formula says otherwise. The numbers get you close; your hands finish the job.

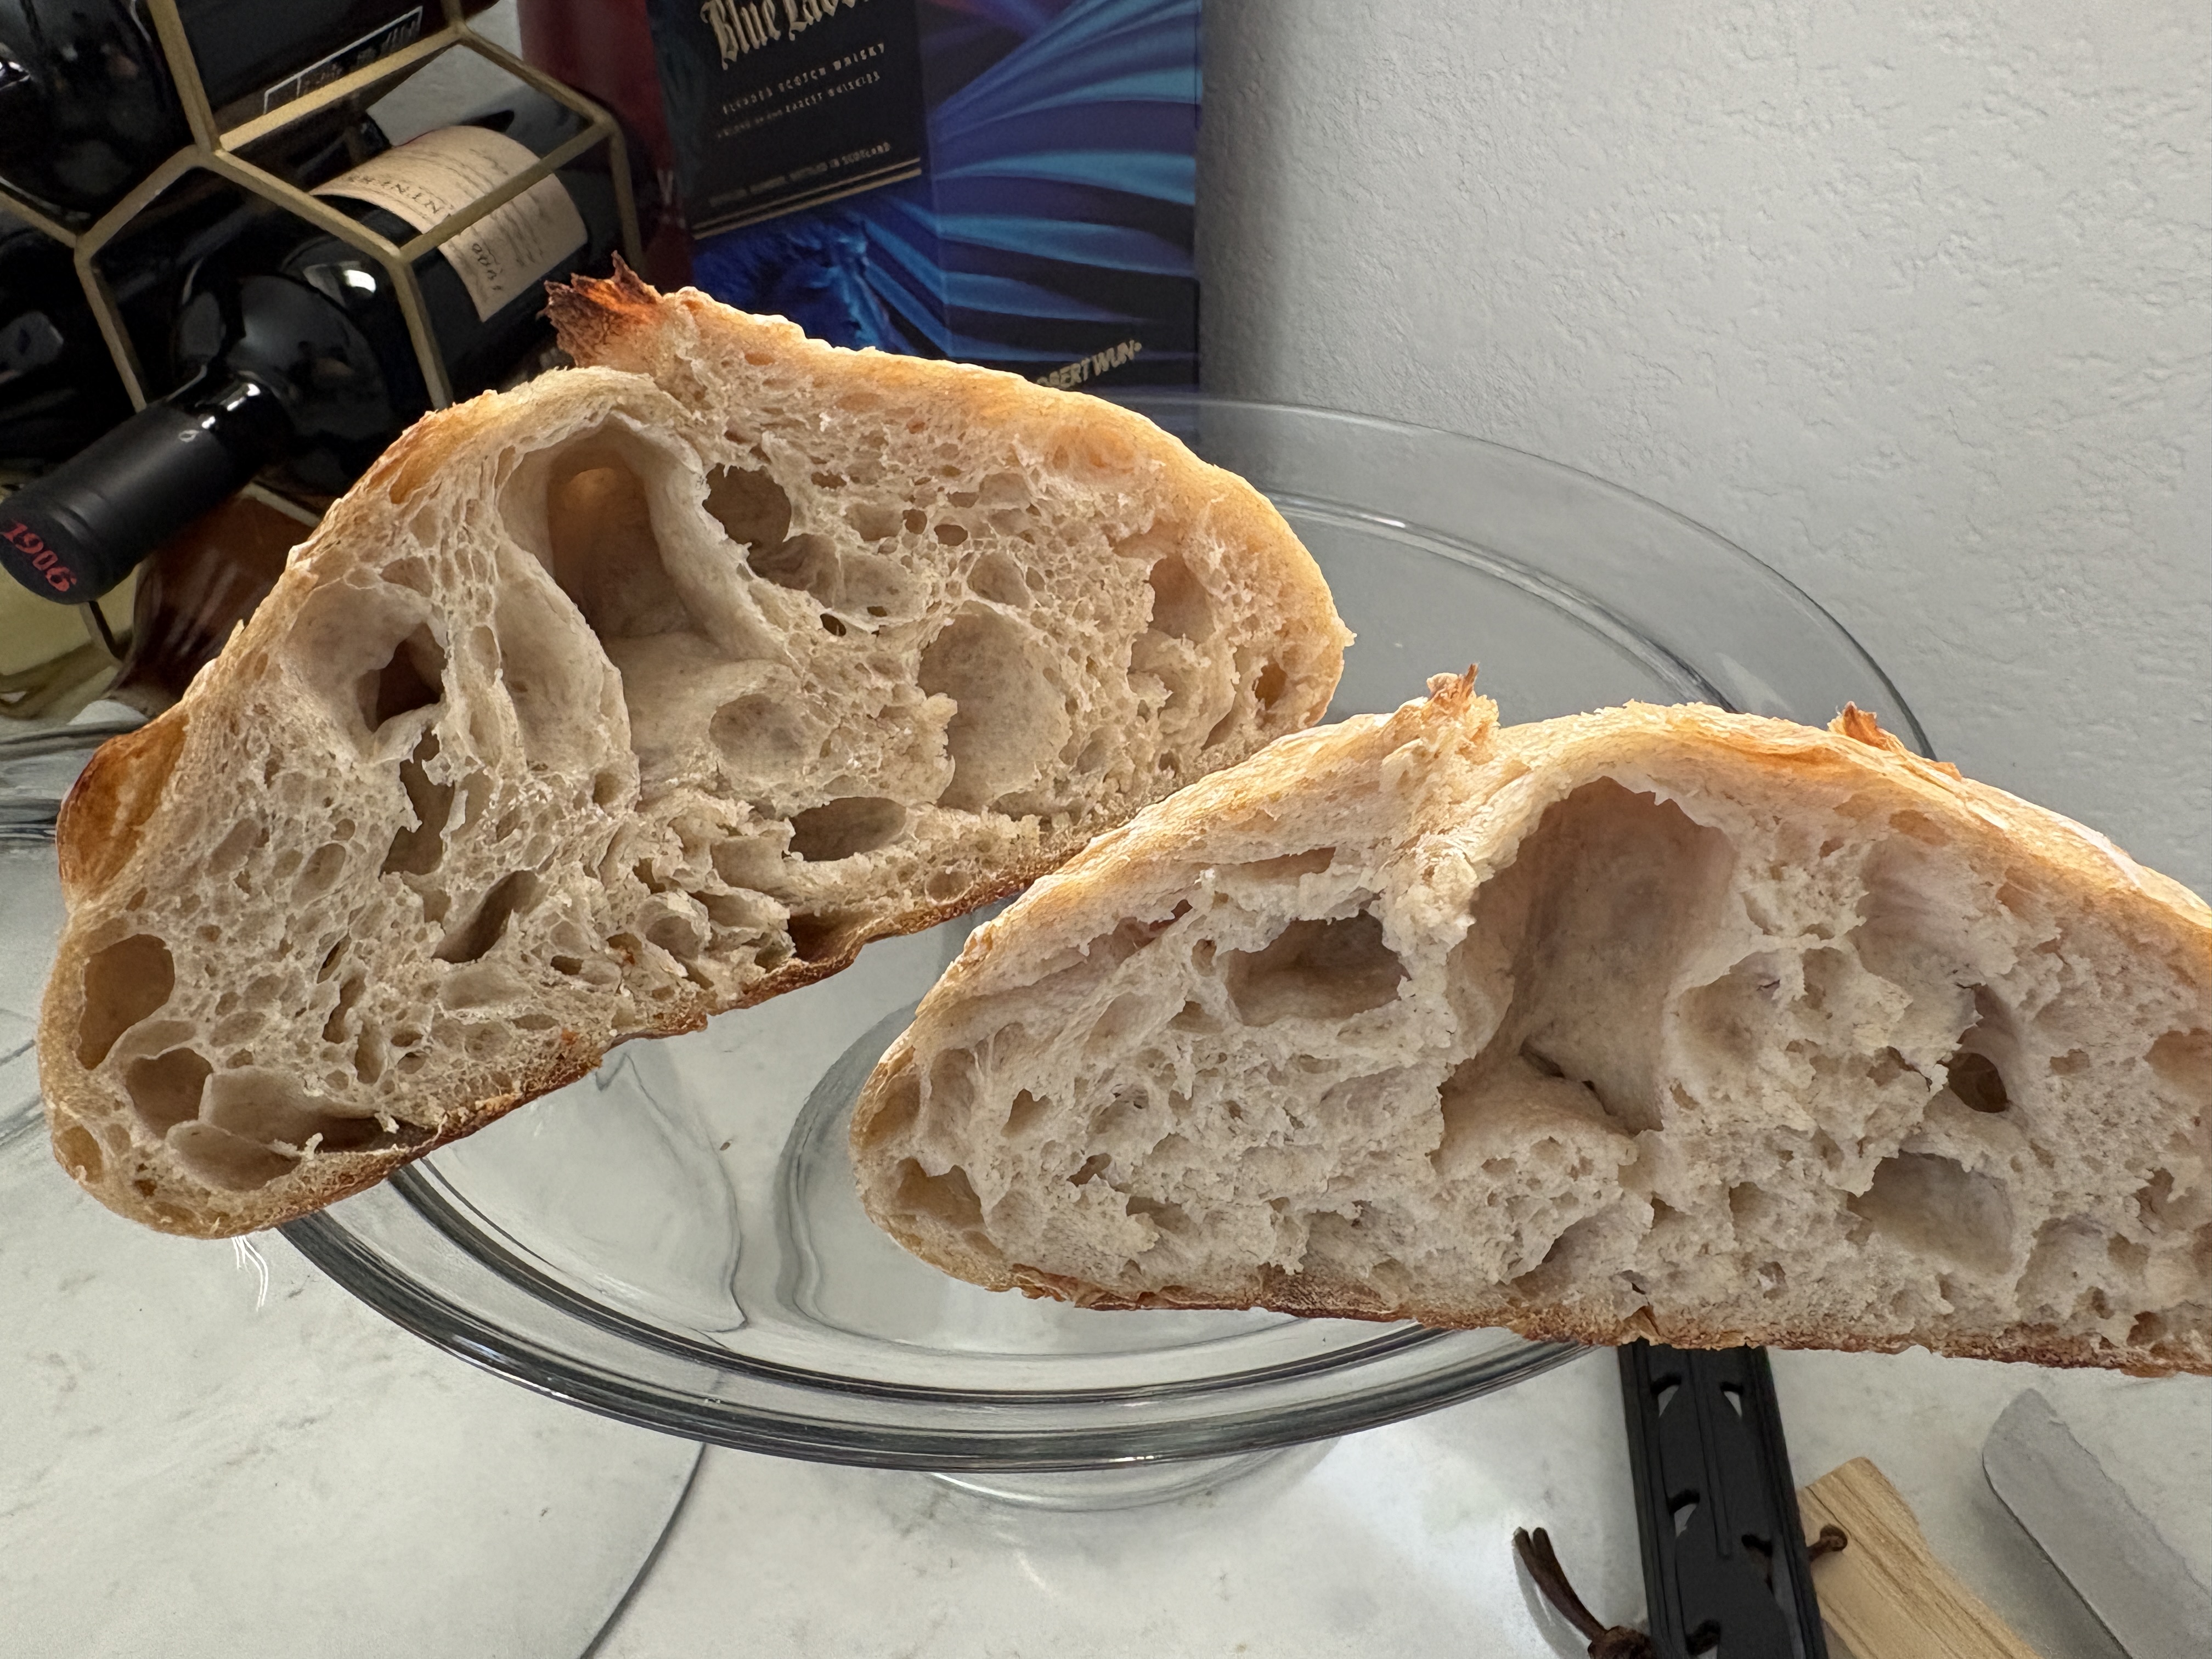
Artisan sourdough bread with an open, irregular crumb and high hydration texture

Speed vs. Quality: Diagnosing the 'Fool's Crumb'

I thought 3.5 hours at 85°F was the sweet spot, but the cross-section revealed a classic sourdough challenge: the "Fool's Crumb." While the bread had "crazy crumbs" (massive holes) at the top, the bottom remained much denser. This is a tell-tale sign of underproofing.

Even though the temperature was high and the dough was active, 3.5 hours wasn't long enough to build a uniform gas structure. When it hit the hot oven, the weak structure couldn't hold the expansion, causing a massive "tunneling" effect at the top while the rest of the crumb didn't have enough air to stay open.

The Fix: Next time, I'll ignore the clock and wait for a visible 30-50% volume increase during bulk fermentation. At 85°F, the difference between "underproofed" and "perfect" can be as little as 30 minutes. It's a narrow window, but that's the price of high-temperature speed!

Science Note: Is 85°F too hot? Not for the micro-organisms. Wild yeast only starts to die off around 120°F (49°C), and lactic acid bacteria thrive right up to 86°F. However, the real risk at 85°F isn't killing the starter, but proteolysis — where enzymes break down the gluten structure too quickly. Ironically, I was so worried about overproofing that I pulled it out too early.

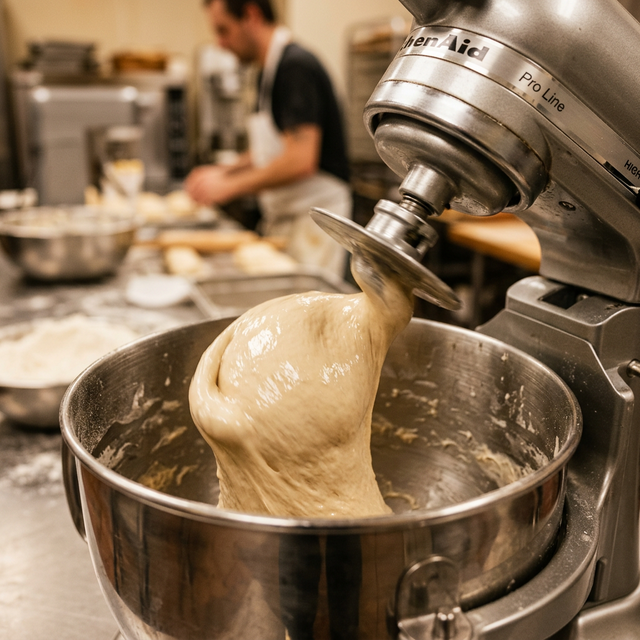
High hydration sourdough dough (75%) being mixed at high speed in a stand mixer

High Hydration? 75% Mixing Lessons

Following up on my last loaf — the one that ended up overproofed and became focaccia — I’ve been reflecting on the mixing stage. This time, I pushed the hydration to 75%. I usually stick to 70% as it’s much more manageable, but 75% definitely takes it to a stickier, more challenging level.

I used my stand mixer for this batch. One key takeaway: for high hydration dough, you can't be afraid to crank up the speed. I found that turning the mixer to a higher speed was essential to strengthen the gluten network. It’s fascinating to watch the transformation; once it hits that higher gear, the dough starts to pull away from the sides and the surface begins to smoothen out beautifully.

The lesson here: if you're struggling with a sticky mess at high hydration, don't just add more flour. Try more speed! It's all about that mechanical energy to build the structure needed to hold all that water.

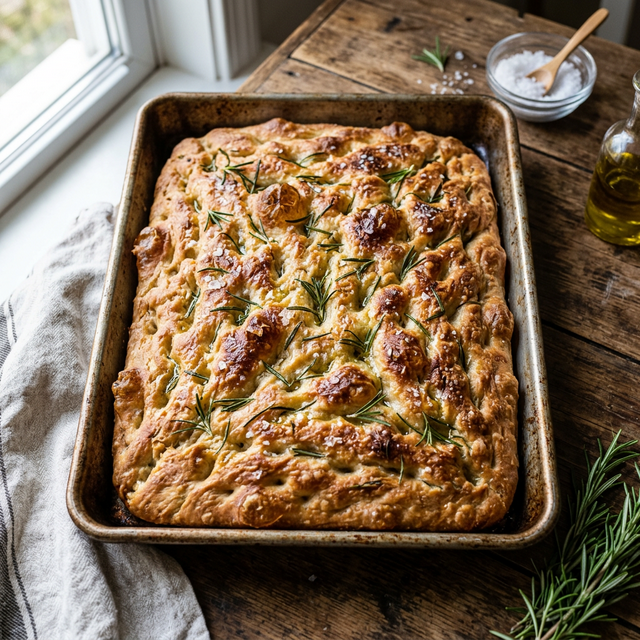
Successful sourdough focaccia rescue

Not Flustrated by Overproofed Dough Anymore

I completely lost track of time today. My wife and I went to watch Hoppers (Great movie by the way). However, I totally forgot about my raising sourdough dough sitting in the oven with the light on. As the result, my sourdough dough was sitting in the corner, rising... and rising... and rising. By the time we came home, it had completely blown up. In the past, I might have just baked a flat, dense "flying saucer" or worse, tossed it. Instead, I decided to try the focaccia-pivot.

I dumped the bubbly mess into a well-oiled pan, added even more oil on top, and just let it be. Even though it was technically overproofed, giving it another two hours in the pan allowed it to relax and fill out. Dimpling it after that final pan-rise was the game-changer. The result? The most incredible, bubbly, crispy-bottomed focaccia I've ever made.

I was so inspired by the rescue that I put together a Quick Focaccia Rescue Guide for next time. If you find yourself with forgotten dough, don't panic — just grab the olive oil and a pan!

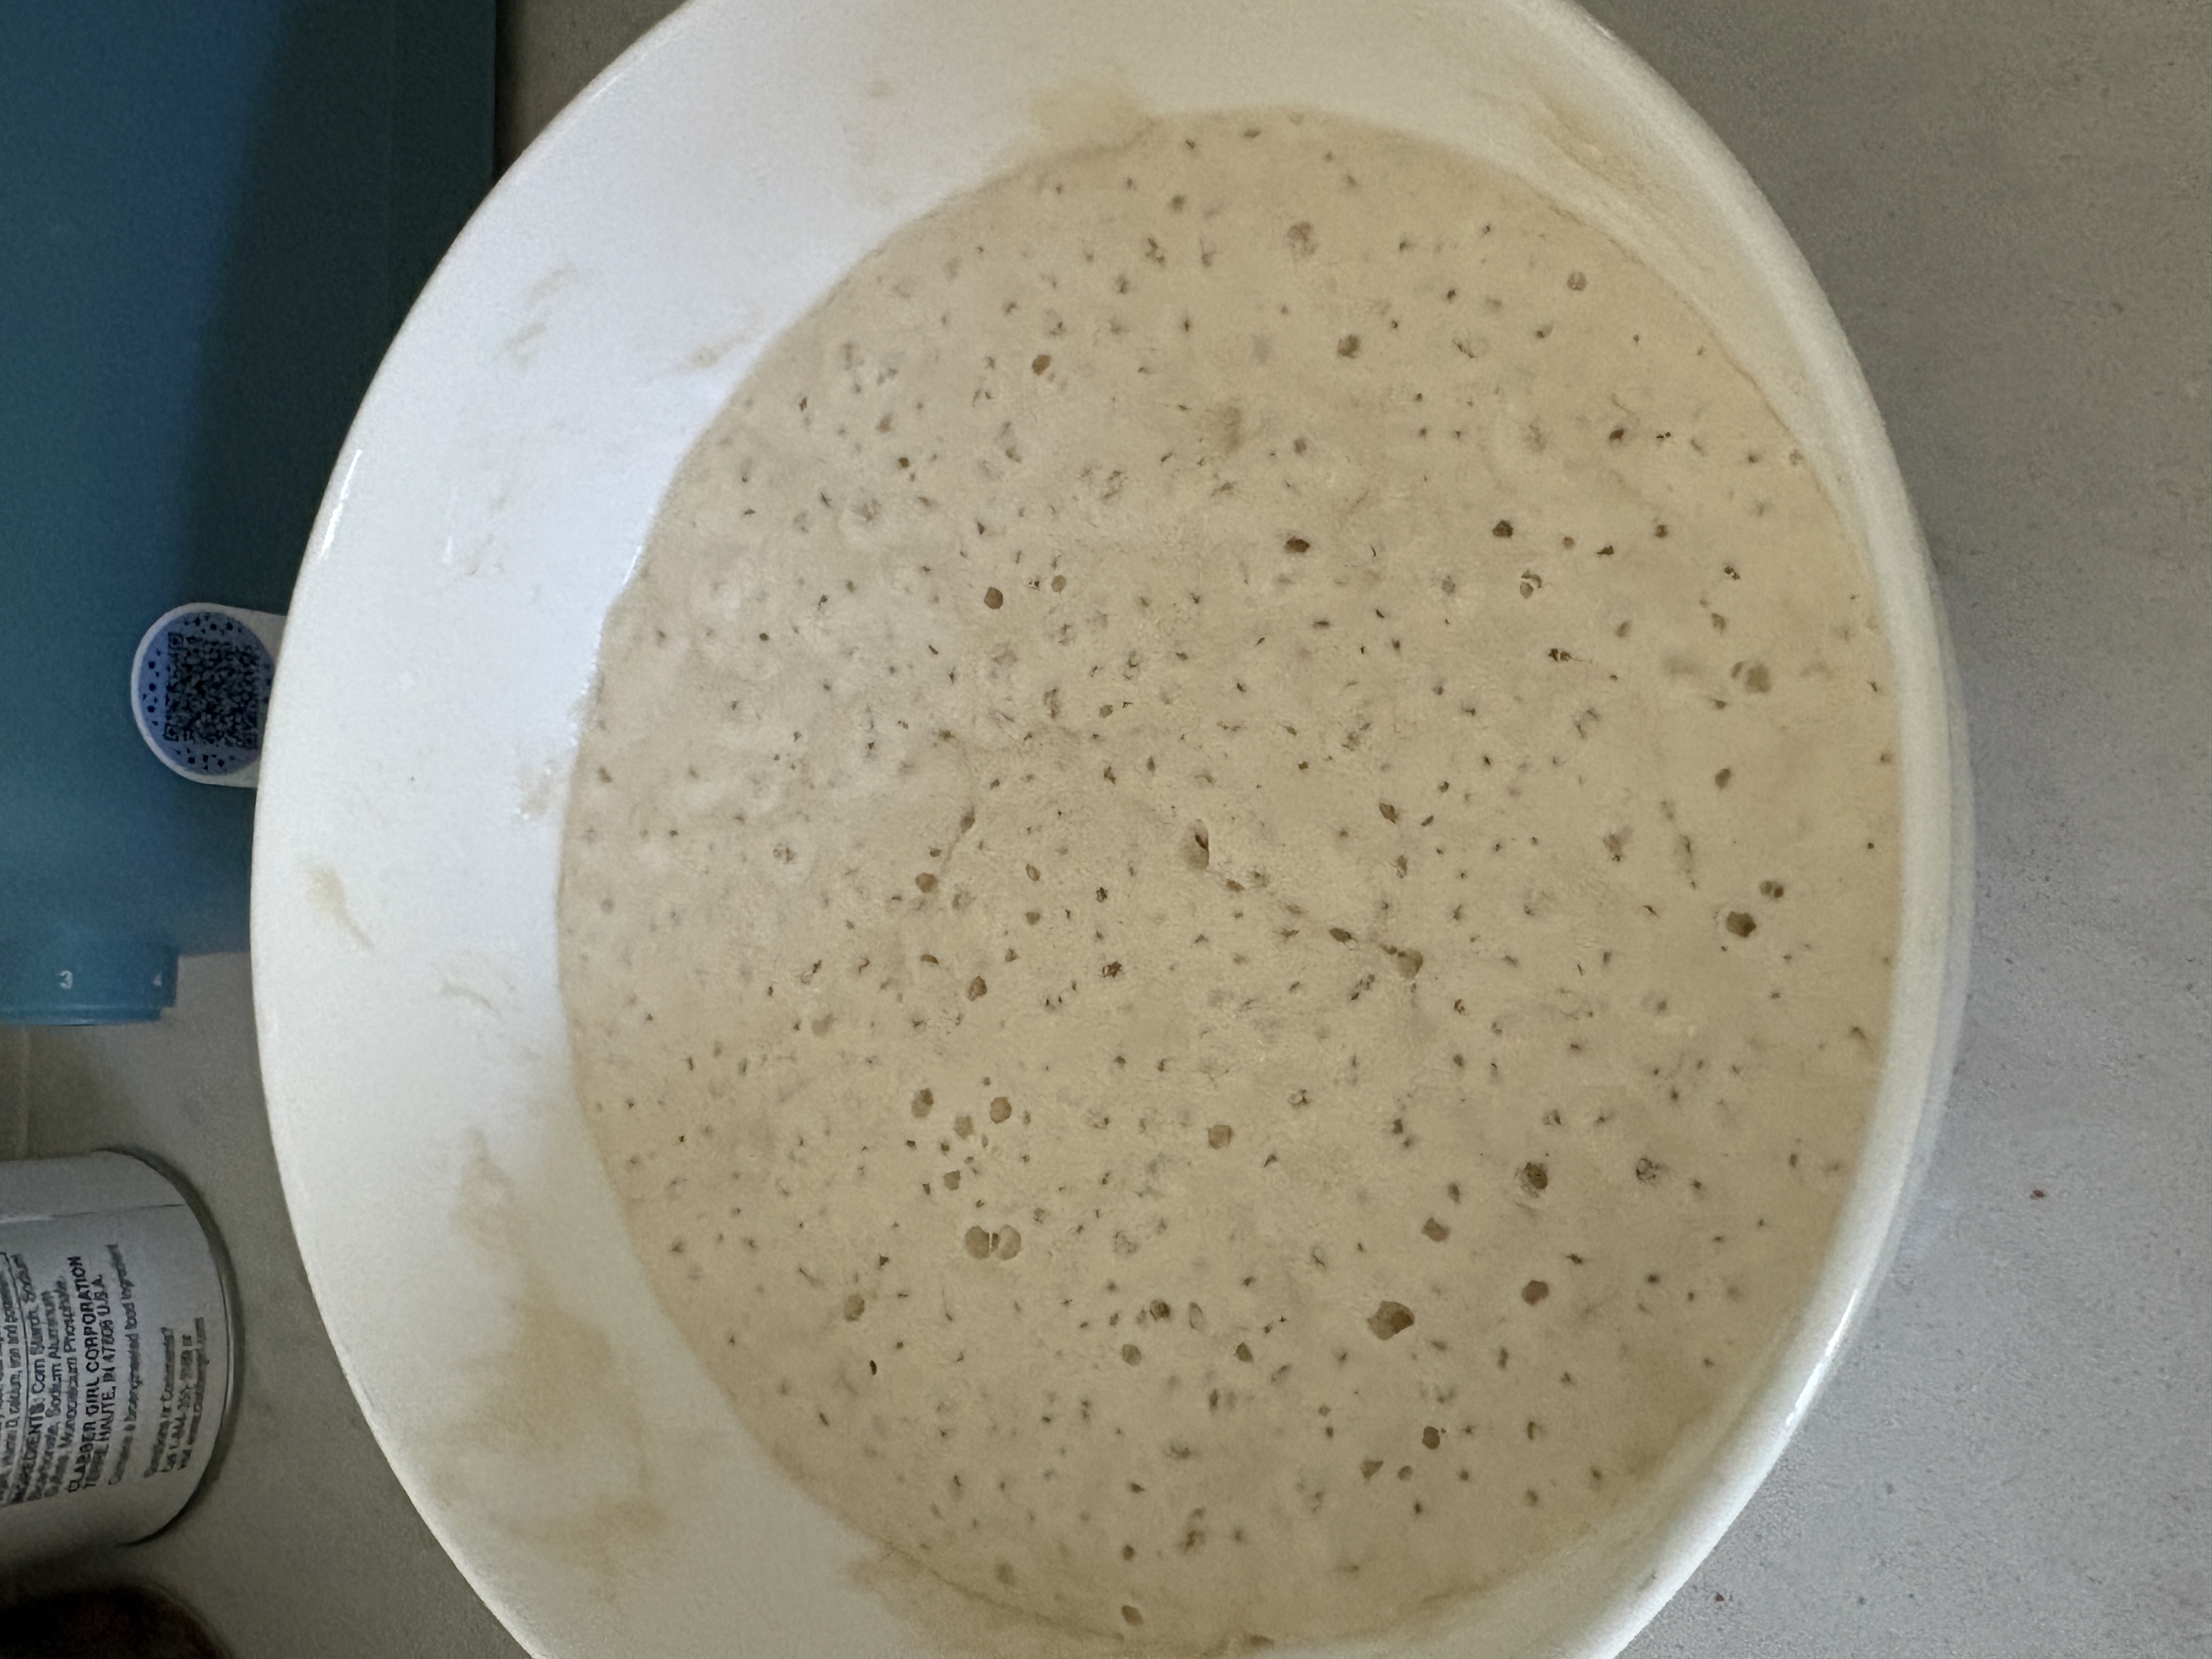
Active levain — fluffy and bubbly

What an active levain looks like

I love watching my levain when it's at its peak. It's fluffy, bubbly — almost alive in the best way. It's late winter in California, so overnight temperatures in my kitchen hover around 60°F. I mixed the levain before going to bed and let it sit on the counter overnight. This photo is what I found around noon the next day — a good 12 hours later.

What you're looking for: the top should be domed and slightly rounded, with big "fish-eye" bubbles on the surface and a web of smaller crackly ones running all the way through. When you scoop it, it should be light and pillowy — almost foamy — not dense or flat. The smell should be pleasantly tangy, maybe a little fruity, like yogurt or green apple. That's your sign the wild yeast and lactic acid bacteria are doing their thing. If it smells sharp and vinegary, it's peaked and started to decline; flat and bready usually means it's not quite there yet.

At 60°F, a 12-hour overnight rise works beautifully because the cool temperature slows fermentation just enough to let the flavor develop without overproofing. Warmer rooms (70–78°F) will push it to peak in 4–8 hours — great for baking the same day, but you'll need to time it more precisely.

Tip — want your levain ready before you head out to work? Put it in your oven with just the oven light on. That gentle heat is often enough to hold a steady 75°F. Mix it the night before, and it should be at peak right around when you're getting ready in the morning — ready to start your bulk fermentation before you leave.

The accidental 20-hour proof: soft, pulling bread

Just baked a soft bread — and it came from a total accident. I forgot about the dough in the oven during a warm proof and left it for about 20 hours. It definitely exploded and overproofed. I wasn’t expecting much.

But the crumb was surprisingly soft and pulling, like pulled pork — a texture I’d been chasing for ages without luck. So maybe the lesson isn’t “don’t overproof” so much as “maybe I need to proof longer?” I’m going to try pushing the proof time on purpose next time and see if I can get that same tenderness without the full explosion.

Advertisement

Advertisement

Advertisement